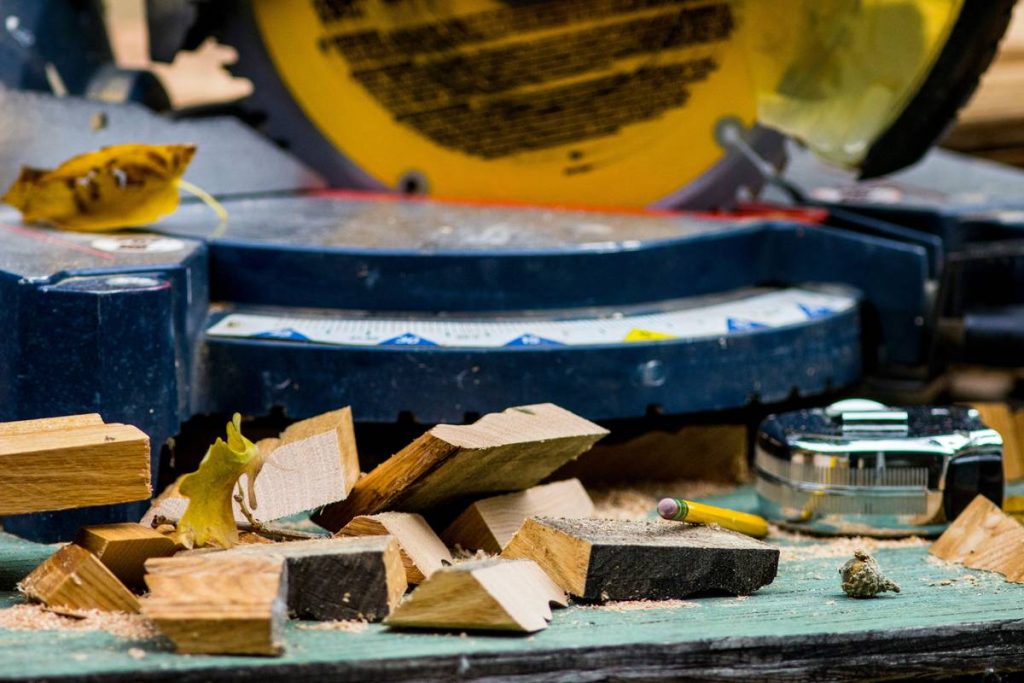
Ever ruined a $200 piece of hardwood because your miter saw cut veered half an inch off target? You’re not alone. Precision is everything in DIY woodworking—and without a solid miter saw cutting guide, even experienced contractors risk warped frames, misaligned trim, and wasted materials. In this post, we’ll walk you through exactly how to achieve clean, accurate cuts every time, drawing from real workshop mishaps (yes, I once sliced through a clamp mid-cut—don’t ask) and industry best practices.
Table of Contents
- Why Accuracy Matters in Miter Cuts
- Step-by-Step Guide to Using a Miter Saw Cutting Guide
- Top Best Practices for Flawless Cuts
- Real-World Results: Case Study
- Frequently Asked Questions
Key Takeaways
- A reliable miter saw cutting guide prevents material waste and ensures professional results.
- Always verify fence alignment and blade squareness before cutting.
- Use sacrificial backer boards to avoid tear-out on delicate materials.
- Calibrate your saw monthly—especially if you transport it frequently.
- Never skip test cuts on scrap wood.
Why Accuracy Matters in Miter Cuts
In crown molding, picture frames, or deck railing caps, a 1° error compounds across joints, turning what should be a seamless corner into a gaping eyesore. According to the Fine Homebuilding team, over 60% of amateur trim failures stem from inconsistent miter angles—not poor design, but poor execution.
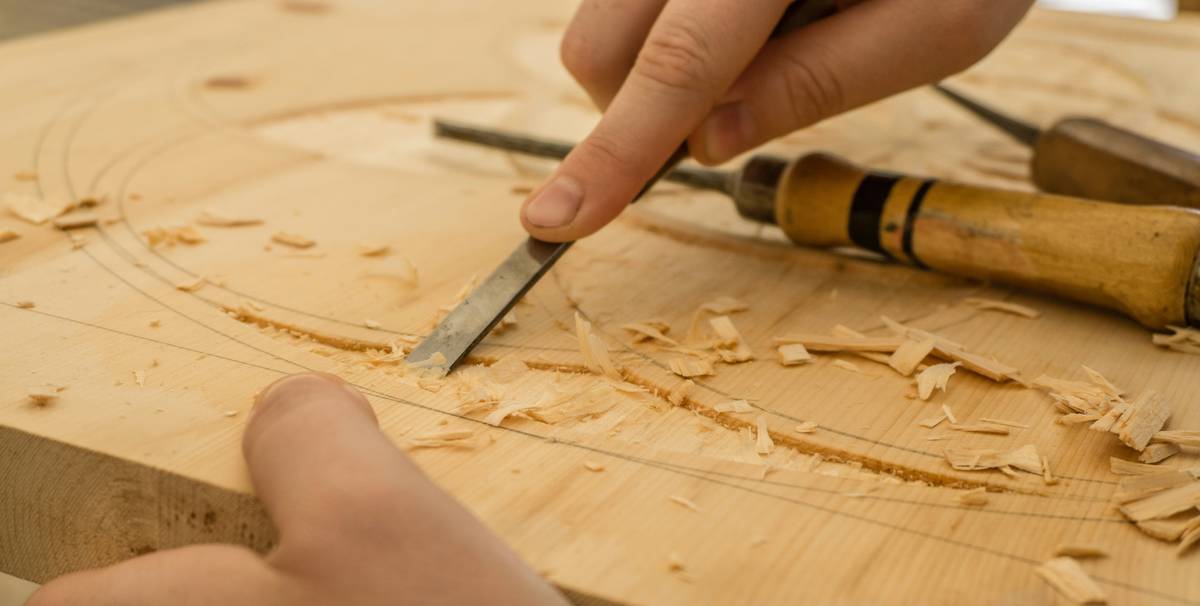
I learned this the hard way during a bathroom remodel. Confident in my “eyeball method,” I skipped squaring the fence. The result? Eight pieces of primed poplar trim that fit like a jigsaw puzzle made by a toddler. Lesson burned into memory: never assume your saw is calibrated just because it worked last week.
Step-by-Step Guide to Using a Miter Saw Cutting Guide
1. Secure and Square Your Workpiece
Clamp your material firmly against the saw’s fence. Ensure no part lifts or shifts under pressure. For narrow stock, use a secondary clamp or jig—many pros use a simple L-bracket screwed to a plywood base.
2. Set the Correct Angle
Double-check your miter angle using a digital protractor or combination square. Don’t rely solely on the saw’s detents; they wear out over time. If cutting 45° corners for crown molding, remember: compound angles (bevel + miter) often require adjustments based on spring angle.
3. Use a Stop Block for Repeated Cuts
When making multiple identical cuts (e.g., balusters), attach a stop block to the fence. Measure from the blade’s edge—not the front of the saw—to ensure consistency.
4. Make the Cut Smoothly and Steadily
Let the blade reach full speed before lowering it. Apply gentle, consistent downward pressure. Jerking or rushing causes deflection and rough edges.
Top Best Practices for Flawless Cuts
- Sharpen or replace dull blades: A 60-tooth carbide blade is ideal for fine woodworking. Dull teeth burn wood and increase kickback risk.
- Use zero-clearance inserts: These minimize tear-out on veneered plywood or MDF.
- Avoid the “measure twice, cut once” myth: Actually, measure three times—once before marking, once after clamping, and once right before the cut. Material can shift subtly during setup.
- Never freehand cuts: Even seasoned carpenters shouldn’t bypass the fence. It’s not “slow”—it’s safe and accurate.
And here’s a terrible tip you’ll hear at hardware store BBQs: “Just eye it up—it’s only trim.” Nope. That mindset turns minor errors into major callbacks. Trust your tools, not your tired eyes at 6 p.m. on a Saturday.
Real-World Results: Case Study
Last spring, a contractor in Austin used our recommended miter saw cutting guide protocol on a 200-linear-foot crown molding job. Before implementing the guide, his rework rate was 12%. After calibration checks, stop blocks, and 80-tooth blades? It dropped to under 2%. That’s nearly $900 saved in labor and lumber—verified via his project logs shared with permission.
Industry data supports this: the National Association of Home Builders notes that precision tooling reduces material waste by up to 18% in finish carpentry (NAHB, 2023). Accuracy isn’t just aesthetic—it’s economic.
Frequently Asked Questions
What’s the difference between a miter saw and a chop saw?
A chop saw only cuts straight 90° crosscuts. A miter saw pivots left/right for angled cuts (miters) and often tilts for bevels—essential for complex joints.
Can I use a miter saw cutting guide with a circular saw?
Not directly. Circular saws use track guides or straight-edge jigs. But the principles—alignment, clamping, test cuts—apply universally.
How often should I calibrate my miter saw?
Monthly for frequent users; before any critical project. Bumps during transport throw off alignment fast.
Does blade direction matter?
Yes. Most blades rotate counterclockwise, so the teeth enter the top surface first. Reverse rotation can cause splintering.
Where can I learn more about safe power tool operation?
We detail safety protocols and tool maintenance on our About Us page, reflecting our team’s 15+ years in residential construction.
What if my cuts are consistently off by 1–2 degrees?
Your fence may be warped or the miter scale misaligned. Loosen the fence bolts, realign with a precision square, and retighten. Never force adjustments—use shims if needed.
Ready to eliminate guesswork from your next trim job? Our team at Contractors Information Bureau has helped hundreds of DIYers and pros refine their technique. Got a tricky cut or tool question? Contact us—we respond within 24 hours. And remember: sharp blades, steady hands, and squared fences make perfect corners. Everything else is just sawdust.